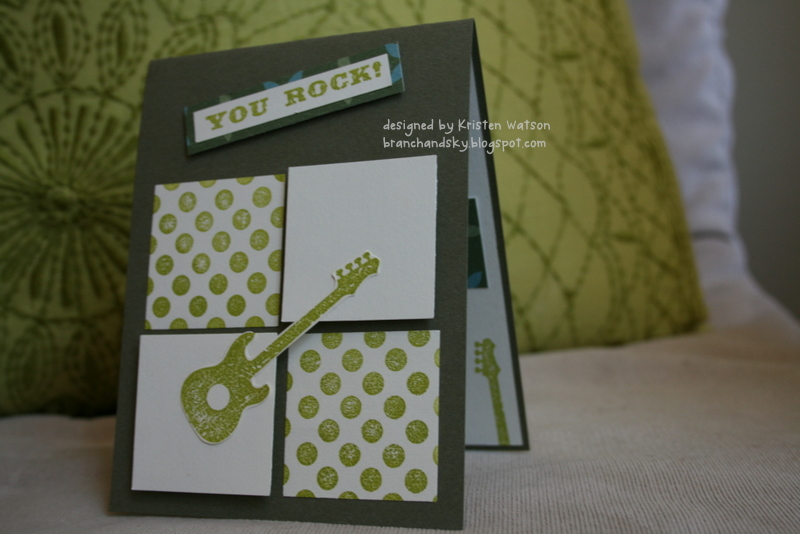
23 June 2011

Look What I Made With A Muse Spotlight Stamps & Paper!


I was trying to come up with something fun for my guests to create at my A Muse Studio kick-off event on Saturday (at my place - stamp camp style) using the June/July Spotlight stamps and paper.  And these two cards are what I came up with!

All (but the vanilla) paper is from the "Seaglass" specialty pack and the stamps are all from the "Life's a Breeze" stamp set.  


Twine is Divine Twine from The Baker's Confections (which, by the way, is AWESOME to work with - the shop, not the twine...although, the twine is awesome too)!

15 June 2011

A Muse Studio Spotlight

The June spotlight is NOW available at the A Muse Studio Spotlight.  What does this mean?  It means savings for you!  There are several stamp sets on sale from now until July 15th - a full 10% off.  In keeping with summertime fun, the sets available are all beach-y themed (love them!)...PLUS, there is a special assortment of paper A Muse put together called "Seaglass" and includes all the soothing colors of the beach.  Check it out!  (Be warned, though: it might just make you want a beach vacation...I know I do now.)
(;

12 June 2011

Father's Day is JUST Around the Corner


This post is dual purpose - first, I'm entering this card into Mark's Finest Papers Blog challenge #59...for a Father's Day card.  This is my first sale on Etsy (and my subsequent 3 thereafter!), so I thought it might be fun to enter into the challenge.  


Second, I wanted to make an offer on my Father's Day cards offered at my Etsy shop - Father's Day is next Sunday, and time is running short to get those Father's Day cards out to Dad.  So, if you've got a personal message you'd like for me to include in your card, I can type and print it out (or handwrite it, if you like), and include it in your card.  It can then be sent directly to Dad, and your shipping will be free!  Start shopping at Branch and Sky today and I'll get your card(s) in the mail tomorrow.  


Happy shopping!  


(BTW - All stamps used in the above card are from A Muse Studio.)

09 June 2011

My First Blog Hop!

OK, so here it is...the first time I've participated in a blog hop!  You should have arrived here from Kari Cards (don't you love her style???) or you may start at the beginning of the blog here - http://cleanandsimplecards.com/.  


My card is made with all A Muse Studio products, save the organdy ribbon (I'm realizing now that A Muse Studio ribbon has got to be next on my purchase list - it's so adorable, and I'd like to have some of each kind to demo at my classes).  


Stamps - beautiful botanicals (p. 26), loving memories (p. 10)
Paper - sugar, blackberry, heather (p. 86-87)
Ink - blackberry (p. 86)
Embellishments - large A Muse sugar pearl stickers (p. 93) and white organdy ribbon (A Muse's sugar organdy ribbon is found on p. 94), dimensionals
Tools - Big shot (p. 103), labels set dies (p. 98)


I used the queen anne's lace from the beautiful botanicals set, stamping it 3 times, without re-inking.  This was stamped on sugar paper - I then cut the flowers into a 2.75" x 4.25" card and matted it against blackberry paper.  Tied the white organdy ribbon around it and affixed it to the A2 card (sugar), placing it close to the upper left hand corner.  I then cut the label using my dies and Big Shot, and stamped the "with deepest sympathy" sentiment on it.  I attached the label using 3D foam adhesive in the lower right hand corner.  For a finishing touch, I used the pearl stickers - another first for me.  Love how delicate they look and how they draw the eye upwards.  Inside is blank.  I really enjoyed digging into all my A Muse Studio products...I think I may do this card as a demo for my open house the end of the month.


Next up on the blog hop...check out Ronnie's card at "So Many Stamps, So Little Time".  What a sweet little scene she made using all stamps from the A Muse Studio starter kit!

Check out Perfectly Pretty's Great Blog Giveaway!

Fun blog to check out anyway and Carly is giving away a Shabby Apple lighthouse dress...head on over to Perfectly Pretty and check it out!

27 May 2011

I Got My Kit!!!

I'd been waiting, and waiting, and waiting...OK, so it wasn't really THAT long, but I was so excited to get it that it felt like a really long time.  I thought I'd share with you the contents.  I got the "deluxe" kit (as opposed to the basic - just a few more goodies that I thought I'd get some good use out of, so I went for it). Check it out:

Sixteen, yes, count them, 16 new, gorgeous colors to work with.  I wasn't sure how I was going to feel about using the pigment ink, since I've been using dye inks almost exclusively for so long.  I'll let you know how it goes, but so far, I'm thoroughly enjoying them.  I was worried they wouldn't dry quickly enough, but it hasn't been an issue at all.


The basic kit comes with an assortment of solid card stock, but one of the reasons I chose the deluxe kit was because it also came with the polka dot and gingham assortment.  I'm so excited to try them out!  It's hard to see the gingham here in this picture, but it's the light pink on the left.  Seven Copic markers (6 colors, one blender pen), glittery embossing power, satin ribbon, grosgrain ribbon, stick-on bling in both rhinestones and pearls, plus the prettiest paper flowers to add to your cards! 


A Muse send a stamp cleaner and solution - love them.  And an adhesive runner as well as a little glue pen.  Apparently this can be used for embossing, adhering glitter, dust, etc...I used it today to glue on some tiny little paper pieces I'd done on my "mishap" card.  It worked like a charm!  Also, pictured here is one of each of the acrylic blocks available through A Muse.  I always thought the ones you can get in the craft stores or craft sections of super stores were just as good as any other you might find...I have to say, "Not so!"  These blocks are WONderful!  I've been using them this week and the thickness of them, the indented sides for gripping, and the weight of them are absolute perfection.  I've always leaned more toward wood mounted stamps because I wasn't a huge fan of the acrylic blocks, but I'm totally converted to these blocks!  Which leads me to my next discovery...

I should have taken a picture of the stamps themselves (I'll post a picture of the stamps themselves in the next day or so).  These are the sets you get with the deluxe kit - the four in back come with the basic kit.  It's a great assortment of stamps and I've been having a blast playing with them.  What I love about them though, is that they are still made of the red rubber that a typical wood mounted stamp is.  The image is just as crisp and clear, and there isn't any of the "wobbliness" that I've experienced with a lot of the clear mounted stamps.  In short, I LOVE THEM.  

Kitchen Mishaps

I thought I had it all down - tote my supplies out of my craft room and into the kitchen so that the boys can keep playing in the family room, I can keep an eye on them, and they aren't getting into every little nook and cranny of my stuff while I try to be creative.  It's worked pretty well this week, while I try to dig into my a|muse stamps and pump out some great Father's Day cards for my Etsy shop before it's too late to sell them there.


I'd been thinking, "Wow, I'm really close to a lot of different things here in the kitchen that could get all over my card stock, etc..." but I told myself how careful I am.  Plus, the counter I'm working on is just high enough that the boys really can't reach it.  Well, today, I had my very first stamping disaster...and it's all because I was located in the kitchen, at the counter, just beyond a sink full of dirty dish water.  I'd been looking for a little glue pen (one that I just had the pleasure of using for the very first time today - one of my a|muse products that is surprisingly helpful - more on that later!) I needed to complete my cards.  I had assembled all the pieces of my cards, but had not actually adhered the pieces to the card itself.  So, as I lifted one end of my paper cutter, down slipped the unfinished pieces (that I'd worked SO hard on and was SO excited about!) right into that sink full of nasty water.


Apparently, that would be one of the downsides, or hazards as it may seem, of working on your cards in the kitchen.  Sigh.  So sad...at least I got to blog about it.